Are your motorcycle’s brakes feeling less responsive than usual? Do you hear a faint squeal when you stop at a light? These are tell-tale signs that your brake pads might be wearing out. But how do you check them, and more importantly, how do you replace them? Don’t worry—you’re not alone. Many motorcycle enthusiasts face this issue, and we’re here to guide you through the process.
This comprehensive guide will explain how to check and replace motorcycle brake pads, ensuring your safety on the road. Whether you’re a seasoned rider or a beginner, this step-by-step article will make brake pad maintenance easy and approachable. So, let’s dive in!
Why Are Motorcycle Brake Pads Important?
Your brake pads are the unsung heroes of your motorcycle’s braking system. As a critical component of the disc brake system, they apply pressure to the brake rotor to slow down and stop the bike. Over time, however, the friction material wears down, compromising your stopping power and, eventually, your safety.
Primary keyword: “Motorcycle brake pads” is crucial for both performance and safety, making regular checks and replacements a vital part of motorcycle maintenance.
Signs Your Motorcycle Brake Pads Need Replacing
Before we dive into the how-to section, let’s identify the key signs that indicate your brake pads are due for a change.
- Squealing or Screeching Sounds
- If your brakes make a high-pitched noise when applied, it’s a sign your brake pads are worn thin and need attention.
- Reduced Brake Responsiveness
- Do your brakes feel spongy, or does it take longer to come to a full stop? This could mean your brake pads are nearing the end of their lifespan.
- Visible Wear
- Check the thickness of your brake pads. If they’re less than 3 millimeters, it’s time to replace them.
- Vibration When Braking
- If your handlebars or brake pedal vibrate when you apply the brakes, this could indicate that your brake pads are uneven or damaged.
- Indicator Lights
- Some modern motorcycles come equipped with wear sensors that trigger a light on your dashboard when brake pads are worn.
Tools and Materials You’ll Need to Replace Motorcycle Brake Pads
Before you begin replacing your brake pads, make sure you have all the necessary tools and materials on hand. Here’s a checklist:
- New brake pads (ensure they’re compatible with your motorcycle model)
- Wrench set
- Hex/Allen keys
- Brake cleaner
- Torque wrench
- Anti-seize compound (optional)
- Gloves and safety glasses
- Rags or paper towels
- Jack or paddock stand (to lift the motorcycle)
How to Check Motorcycle Brake Pads
Let’s start with checking your brake pads. It’s a straightforward process and only takes a few minutes.
Step 1: Locate the Brake Calipers
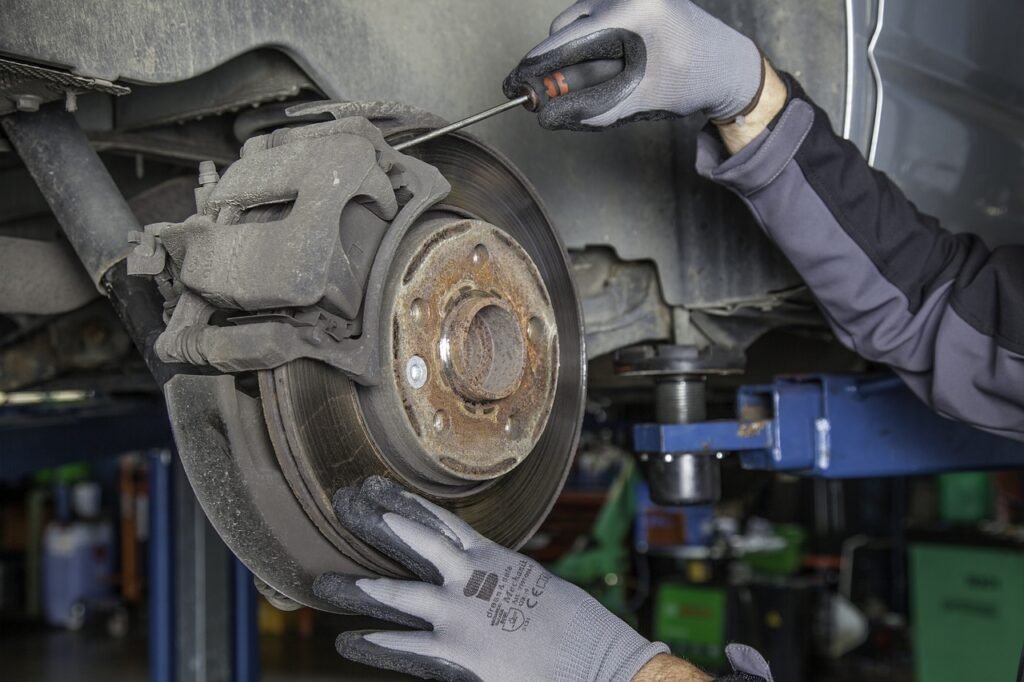
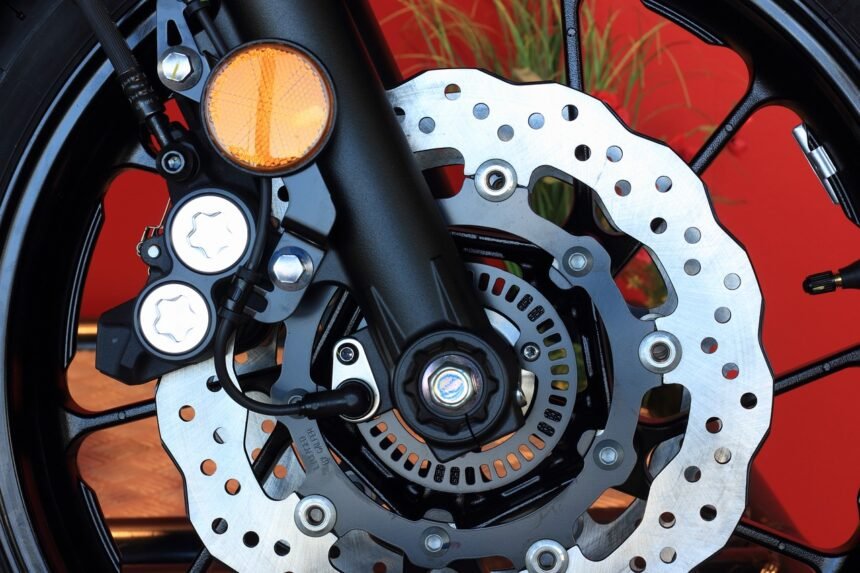
The first step is to locate the brake calipers, which house the brake pads. You’ll find them near the front and rear wheels, attached to the brake rotors.
Step 2: Inspect the Brake Pads
You don’t need to remove the caliper to check the pads. Simply look through the caliper to inspect the thickness of the brake pads. If they’re thinner than 3 millimeters, it’s time to replace them.
Step 3: Check for Uneven Wear
Make sure the brake pads are wearing evenly. Uneven wear could indicate an issue with your caliper, and you’ll want to address that before replacing the pads.
Step 4: Look for Metal-to-Metal Contact
If the pads have worn down to the point where metal is contacting metal, it’s critical to replace them immediately to avoid damaging your brake rotors.
How to Replace Motorcycle Brake Pads: Step-by-Step Guide
If you’ve checked your brake pads and determined they need replacing, follow these steps to safely install new ones.
Step 1: Lift the Motorcycle
Use a paddock stand or jack to lift your motorcycle. Make sure it’s stable before proceeding to avoid accidents.
Step 2: Remove the Caliper
Using a wrench or Allen keys, unbolt the caliper from the brake disc. Be cautious not to let the caliper dangle by the brake line; use a bungee cord to secure it if necessary.
Step 3: Remove the Old Brake Pads
Carefully slide out the old brake pads from the caliper. If they are stuck, use a small flathead screwdriver to gently pry them loose.
Step 4: Inspect and Clean the Caliper
Before installing the new pads, inspect the caliper for debris, corrosion, or damage. Spray some brake cleaner on a rag and wipe down the caliper.
Step 5: Compress the Pistons
The pistons inside the caliper need to be pushed back to make room for the new, thicker brake pads. Use a brake caliper tool or a C-clamp to gently compress the pistons back into the caliper housing.
Step 6: Install the New Brake Pads
Slide the new brake pads into the caliper, making sure they are properly aligned and seated.
Step 7: Reinstall the Caliper
Carefully position the caliper back over the brake rotor and reattach it using the bolts you removed earlier. Tighten the bolts to the manufacturer’s specified torque using a torque wrench.
Step 8: Check Your Work
Once everything is in place, spin the wheel to make sure it moves freely. Pump the brake lever a few times to ensure the brake pads are properly seated and the brake system is pressurized.
Step 9: Test Ride
Take your bike for a slow test ride in a safe area to ensure the brakes are functioning correctly.
Tips for Extending the Life of Your Motorcycle Brake Pads

- Ride Smoothly: Aggressive braking can wear down your brake pads quickly. Try to brake gently and predictably.
- Keep Your Rotors Clean: Clean brake rotors lead to better pad life and more effective braking. Use brake cleaner regularly.
- Inspect Regularly: Even if your brakes feel fine, it’s a good idea to inspect your brake pads every 3,000 miles.
Table: Estimated Brake Pad Lifespan Based on Riding Style
| Riding Style | Estimated Brake Pad Life |
|---|---|
| Aggressive Rider | 5,000-7,000 miles |
| Average Rider | 8,000-10,000 miles |
| Casual Rider | 12,000-15,000 miles |
Frequently Asked Questions
Q1: How often should I check my brake pads?
A: It’s a good idea to inspect your brake pads every 3,000 miles or whenever you notice changes in braking performance.
Q2: Can I replace motorcycle brake pads myself, or should I see a mechanic?
A: You can definitely replace them yourself with the right tools and instructions. However, if you’re unsure, it’s always best to consult a professional.
Q3: What happens if I don’t replace my brake pads in time?
A: Worn brake pads can lead to metal-to-metal contact, damaging your rotors and significantly reducing braking power. This can be costly and dangerous.
Q4: Are there different types of brake pads for motorcycles?
A: Yes, there are organic, semi-metallic, and sintered brake pads. The best choice depends on your riding style and bike type.
Q5: How do I know which brake pads are right for my motorcycle?
A: Check your motorcycle’s manual for recommended brake pads. You can also consult a parts specialist or your dealership.
Conclusion: Take Control of Your Motorcycle’s Safety
Learning how to check and replace motorcycle brake pads is essential for every rider. Not only will it save you money on mechanic fees, but it will also ensure your bike is always in top-notch condition for safe riding. With the steps outlined in this guide, you can confidently maintain one of the most crucial components of your motorcycle’s braking system.


